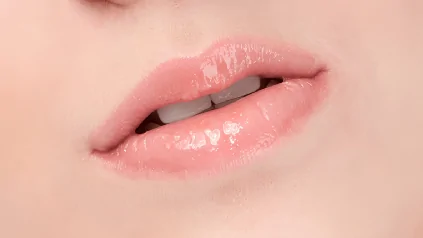
Lip blushing is considered to be a semi-permanent cosmetic tattoo that enhances the natural color and shape of the lips. This makes it visibly fuller, more even, and well-defined, giving the color to the lips but eliminating the need for lipstick daily.
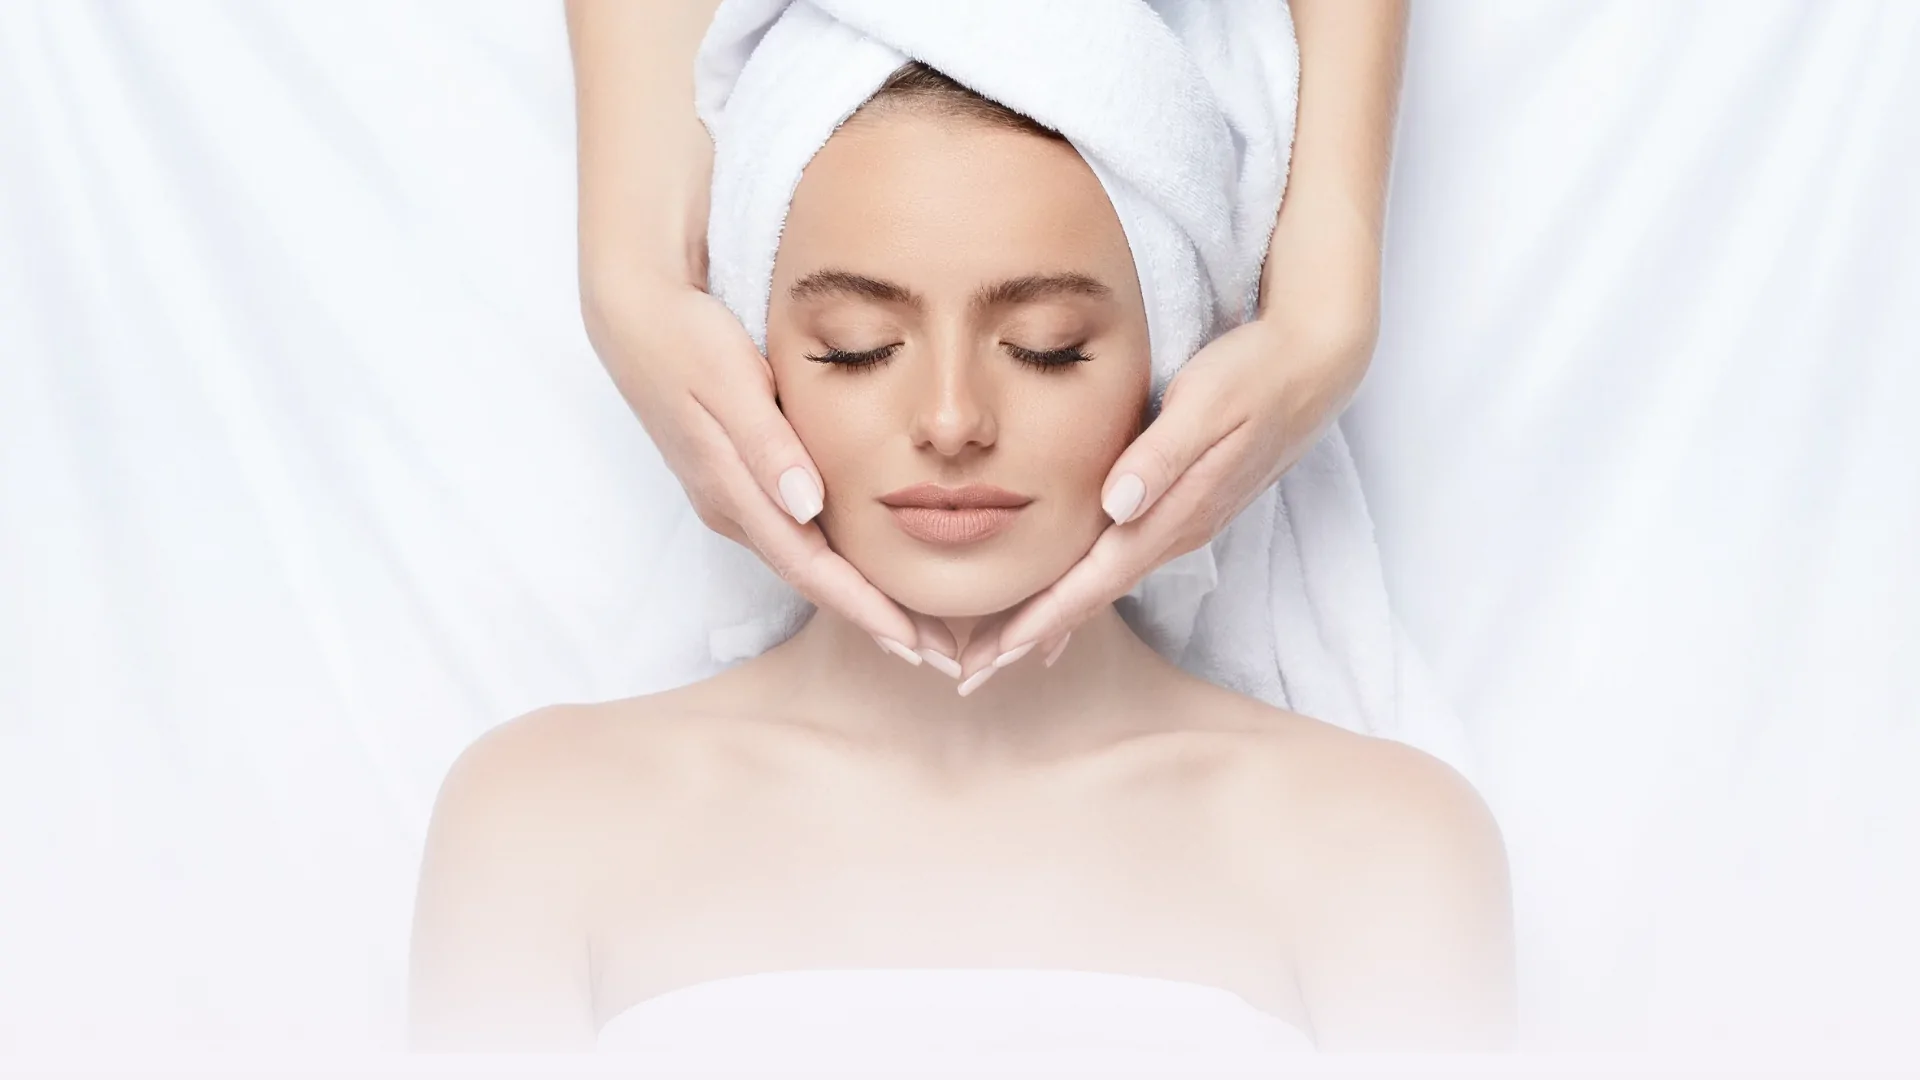
If you are considering lip blush Rocky View AB or have already done the session, it is very pertinent for you to understand the healing process. Healing occurs in stages and takes considerable time. Step-by-step, this guide will take you through what to expect and how best to care for your lips for optimum results.
All skin types and pigments have different reactions to the procedure, and lip blush healing takes from a few days to weeks. In the first 24-48 hours, the color will deepen, and then the lips will swell and heal, resulting in peeling skin, a white layer on the surface, and crusting that will be very noticeable between day 3-8.
What Happens Right After Lip Blush?
At first, right after your lip blush session, like at the healing stages of lip blush Alberta; they will be slightly more colored than what was expected. All this is totally normal. There will, however, be some pain, redness, and swelling, and all of these will eventually fade over the course of weeks of healing to reveal the softer color beneath.
Usually the first week is the most seen and then healing across four to six weeks. Lets break it down day by day.
Day 1: Right After the Treatment
What to Expect:
Your lips will look bright and bold in color.
Right after your lip-blush session, your lips may seem darker and more intense in color than the final result. This is a very temporary and common situation. Do not worry with first boldness; this is owing to the pigment being very new and until now, it hasn’t set into the skin.
Swelling and slight redness may be expected.
In the hours following the procedure, it is typical for the lips to appear red or puffy and for there to be a slight swelling. This is due to the skin being manipulated while subjected to a minor inflammatory response. Generally, the swelling goes down after a few hours or the entire day.
Your lips could possibly feel a little sore or tender.
After the procedure with little needles, your lips might be a little sore as if you had a little sunburn or inflammation. Some people call this feeling similar to that of chilling outside for too long or having chapped lips.
Feeling tight or dry may also happen.
Your lips may feel tight or dry as the pigment dries and your skin begins to repair. This means that your lips are actually being healed. Apply the healing ointment regularly as recommended.
What To Do:
Apply the aftercare ointment given by your artist.
For soothing and protecting your lips like a touch ups correction, the artist will apply a healing balm or ointment. It keeps moisture in and protects the lips from cracking or scabbing. Apply with a cotton swab if you cannot use clean hands. Pay close attention to the directions regarding frequency of application, ranging from two to four times a day.
Do not touch: Don’t lick your lips, and don’t rub your lips.
Although very tempting, keep your hands off your lips. Any time you touch your lips, you risk the possibility of bacteria or dirt being introduced. Licking your lips will only dry them out further, creating a bigger delay in healing. Rubbing will inadvertently disturb the pigment and may provide some very uneven results.
Use a straw for drinks.
It is important to protect the lips with a straw while the area is still tender and fresh. This comforts the client and allows the pigment to settle with no pressure and moisture on the lip area.
Consume cool, soft foods. Avoid spicy or salty foods.
For the first two or so days, your diet should consist of soft, bland, non-irritating food. Those are usually best eaten if they are melting.
Day 2–3: Swelling Goes Down, Scabbing Starts
What to Expect:
- Swelling drastically decreases.
- Although it still appears bold, the color can start to shift a little.
- The healing process may cause tiny scabs to begin to form.
What to Do:
- To keep lips hydrated, keep putting on a thin layer of healing balm.
- Avoid picking or peeling any scabs as this may result in scars or patchy coloration.
- Steer clear of the sun and hot beverages
Note: Keep your hands off! Allow your lips to recover on their own.
Day 4–5: Peeling Phase Begins
What to Expect:
- During this stage, your lips may appear spotty or uneven in color, feel dry, and begin to peel or flake. While some regions may still seem brilliant, others may appear faded.
What to Do:
- Continue applying the healing balm as directed.
- Don’t scrub or peel your lips.
- Wait until the peeling is finished before applying lipstick, lip gloss, or other cosmetics.
If the color appears uneven, don’t panic; this is a normal stage.
Day 6–7: Peeling Ends, Color Appears Lighter
What to Expect:
- The majority of the flakes or scabs will have disappeared, and your lips might now seem overly pale or faded. We call this the “ghosting phase.”
- Do not be concerned! As your skin heals completely, the color will gradually reappear.
What to Do:
- As needed, keep moisturizing gently.
- Avoid the sun, swimming pools, and harsh chemical-containing lip creams.
- For many, this is the most perplexing phase; have faith in the process.
Day 8 -9 : Color Slowly Returns
What to Expect:
- Some areas may still appear lighter than others
- The lips appear more natural and less patchwork
- The gentle tint will begin to return.
What to Do:
- If necessary, you can resume wearing light makeup, but stay away from harsh cosmetics.
Refrain from exfoliating your lips or being in the sun. - Continue to moisturize and drink plenty of water.
- Be patient; healing is ongoing beneath the surface.
Day 10 – 11 : Color Settles
What to Expect:
- The color becomes softer, more balanced, and faithful to the final hue
- Your lips will feel fully healed on the exterior
- Your lips will seem more even and natural.
What to Do:
- You can now resume your usual makeup and skincare regimen. To prevent your color from fading in the sun, think about applying SPF lip balm.
- Because each person’s complexion is unique, your final color may differ somewhat.
Day 12 to 13: Final Healing Check-In
What to Expect:
- Your lips should be fully healed, and the final color has settled.
- You may notice slight fading, uneven tones, or small patches, this is completely normal.
What to Do:
- Begin observing your healed results and make note of any areas that may need refining.
- Do not rush into touch-ups; your artist will guide you on scheduling one after 4–8 weeks if necessary.
- Maintain good lip care; hydration, gentle cleansing, and SPF balm to preserve the results.
How to Take Care of Your Lips During Healing
The following short advice will help your lips heal more quickly:
- During the first week, stay away from meals that are hot, spicy, or salty.
- Under no circumstances should you pluck or peel your lips.
- Avoid tanning beds and direct sunlight.
- When your lips are mending, avoid swimming and sauna use.
- Pay close attention to the aftercare recommendations provided by your artist.
Conclusion
Therefore, the conclusion arrived at is to trust the healing process. There are some ups and downs in the entire lip blush healing process, but the results are worth it. Each of those swelling-scabbing, peeling-fading-and settling of colors-has its particular function. Patience and aftercare regimen attachment are crucial. In some weeks, your lips will be soft, naturally colored, and sweet every day.
Book Your Lip Blush Appointment with Renew Beauty PMU
We, at Renew Beauty PMU, specialize in creating a beautiful and natural lip blush near me to enhance your own features. Highly skilled from the hygiene standards it implements to the use of pigments and equipment, our artists have it all covered and even include exhaustive aftercare support.